Creating events in Permitors is simple once you follow the right steps. This guide shows you how to create an event in Permitors using the Events Creator tool. By submitting complete and accurate information, your event can go live faster.
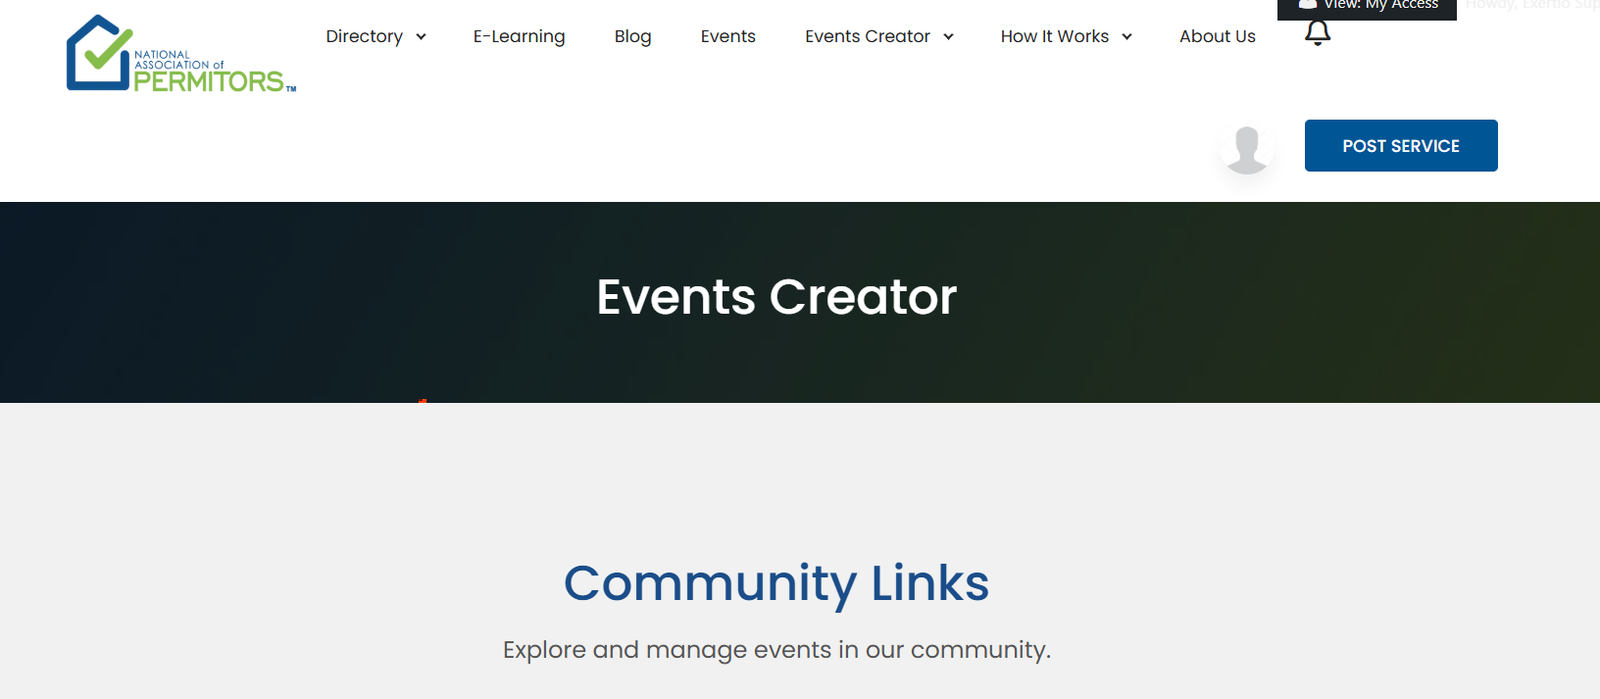
Click on “Events Creator” in the menu to begin. This section is where all new events are managed.
Click the “Create Event” button to open the event submission form.

Note: Make sure all required fields are filled before continuing.


Complete the Venue Details and Organizer Details. If your desired entry isn’t listed, simply type it into the field and select the suggested result.

Carefully review all event information for accuracy. Once confirmed, scroll down and click “Submit Event”.

Once submitted, your event will go through a brief verification process by the Permitors team. Approved events are published to the calendar and made visible to users.
Forget about complicated procedures! With us, getting permits is easy, secure and fast. Start your process today!
Explore, purchase, and simplify your permit acquisition journey at PERMITORS. Unlock opportunities effortlessly!
Copyright 2025 © National Association of PERMITORS. All Rights Reserved.
Leave Your Comment